
In the high-stakes world of catering, equipment downtime isn’t just an inconvenience—it’s a direct hit to the bottom line. Whether it’s a gas range or a high-end steamer, reliability is everything.
Recently, I had the opportunity to troubleshoot a complex setup for a returning client. While many restaurant owners search for convection oven repair when their hot side equipment fails, the issue often extends to the versatile workhorses of the kitchen: the convection steamers.
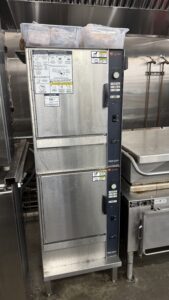
This article breaks down a recent project involving four Groen commercial units, offering a behind-the-scenes look at professional diagnostics and the technical precision required to get a catering facility back up and running.
The Call: A Catering Facility at a Standstill
One morning, I received a call from a returning customer who manages a busy catering facility. The panic in a chef’s voice is unmistakable when service is threatened. He reported that four of his Groen convection units were malfunctioning simultaneously.
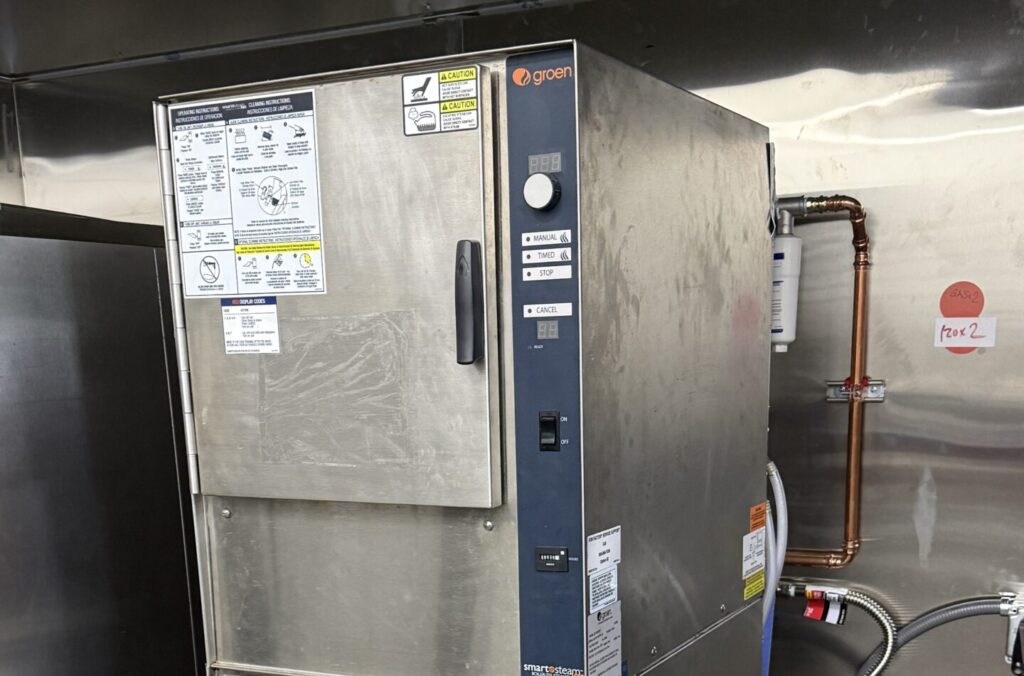
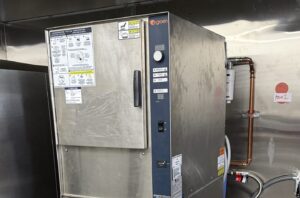
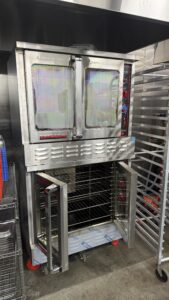
When I arrived, I identified a mix of electric and gas commercial steamers that had seen heavy use. The issues ranged from electrical failures to water level sensor errors. Below is the step-by-step breakdown of how we diagnosed and resolved the issues for each unit.
Case Study: The 4-Unit Diagnostic Breakdown
The facility had two electric units and two gas units. Here is what the diagnostic process revealed.
Unit 1: The “Silent” Alarm (Electric)
The Symptom: The kitchen staff complained that the buzzer was too quiet to be heard over the kitchen noise.
The Diagnosis: The buzzer on this specific Groen model is built directly into the control board. After testing, I confirmed the buzzer itself was defective.
The Fix: Because the component is integrated, you cannot simply swap the buzzer. The entire control board assembly had to be replaced.
Pro Tip on Control Boards: When replacing these units, remember that this is the main control board and overlay for the stove model. The overlay is often not included with the new control board. You will either need to carefully peel the old overlay off and stick it onto the new control board, or purchase a new overlay entirely.
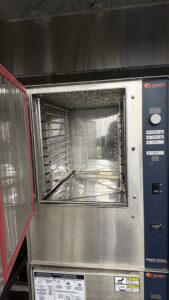
Unit 2: Power But No Action (Electric)
The Symptom: The unit was receiving the correct power supply, but it wouldn’t run.
The Diagnosis: A multimeter test revealed that the door switch was defective. This is a safety mechanism; if the machine “thinks” the door is open, it won’t engage.
The Fix: We replaced the door switch, restoring the unit to full function.
Unit 3: The “l (1)” Error Code (Gas)
The Symptom: The digital display was flashing an error code “l (1)”.
The Diagnosis: This code indicates an issue with the water level and the float switch. Upon further inspection, I also found that the drain valve assembly was damaged.
The Fix: To clear the code and prevent leaks, I recommended replacing both the water level switches and the damaged drain valve assembly.
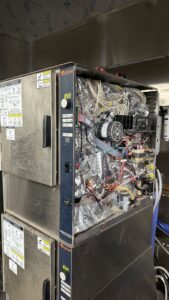
Unit 4: Intermittent Failure (Gas)
The Symptom: This unit was a triple threat of issues. The On/Off switch was working intermittently, and the unit wasn’t filling properly.
The Diagnosis: The float and water level switches were not providing correct readings (likely calcified or shorted), and the drain valve was also defective.
The Fix: A complete overhaul of the sensing and control loop was needed. We replaced the On/Off switch, the float/water level switches, and the drain valve.
Technical Corner: How We Test Heating Elements
While this project focused on steamers, the principles of testing heating elements in electric convection ovens are very similar. If you ever wonder how technicians determine if a heating element is “dead,” we use a multimeter to measure continuity and resistance.
Here is the procedure we follow for safety and accuracy:
- Safety First: With the range unplugged and the wires to the element disconnected, we use a multimeter or ohm meter to perform a continuity or ohm test. OSHA guidelines emphasize the importance of “Lockout/Tagout” procedures to ensure power is completely off before touching internal components.
- The Connection: We touch the two probes from the meter to the wire terminals of the heating element.
- The Continuity Test: If the meter has a continuity setting (usually a sound icon), it will emit a beeping noise if the element has continuity (a complete circuit). If the meter remains silent, the element is bad (open circuit).
- The Ohm Test: Alternatively, if we are doing an ohm test, we set the meter to the lowest ohm setting (indicated by the horseshoe symbol $\Omega$). A healthy commercial element should typically display a reading of 5-20 ohms.
Note: If you suspect a board issue, such as when a relay fails to send power to the element, it usually sounds like the main control board is bad. In other cases, if the unit overheats, it is either the sensor or the thermal fuse that has failed.
Summary and Maintenance
Commercial kitchen equipment, whether it’s a Groen steamer or a convection oven, relies on a delicate balance of water, gas, and electricity.
In this project, we successfully brought all four units back online:
- Electric Unit 1: New Control Board.
- Electric Unit 2: New Door Switch.
- Gas Unit 3: New Float Switches & Drain Valve.
- Gas Unit 4: New On/Off Switch, Float Switches & Drain Valve.
Regular maintenance checks on drain valves and water sensors can prevent the dreaded “Error l (1)” code. For more insights on keeping your kitchen running, check out our posts and news section.
If you are facing issues with your commercial equipment, don’t wait for a total breakdown. Contact Seattle AC Doctor Naz for professional diagnostics and repair.